Set Windows Network Location To Private Or Domain
When a computer is joined to an Active Directory domain, we often find that the Network Location is set to Public. This setting will limit access to Network Drive Letters, DLNA or UPnP shares, and other network resources such as printers. This article will show how to set the Network Location using PowerShell in the Windows 8 and Server 2012 and Windows 10 Operating Systems. We have listed a few other methods for Windows 7 also.
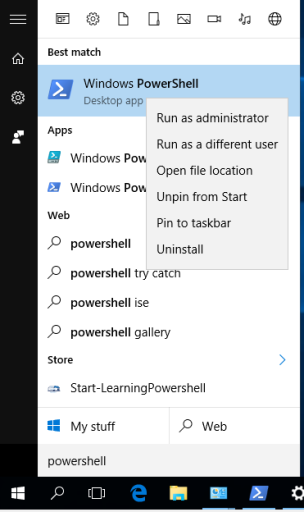
Launch PowerShell as an administrator by pressing the Windows Key and begin typing ‘powershell’.
Type the command below to list the network adapters and show their profiles:
Get-NetConnectionProfile
(or type ‘get-netconn’ and press tab to complete the command)
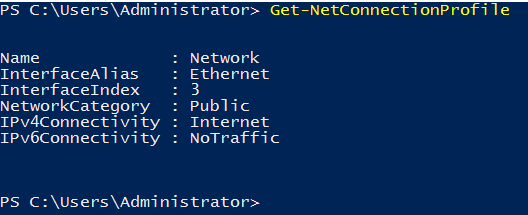
You will see a number called InterfaceIndex. Then type the command below
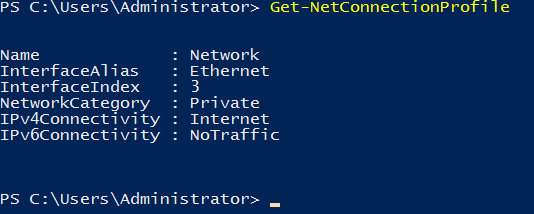
Set-NetConnectionProfile -InterfaceIndex 3 -NetworkCategory Private

You can then run command ‘Get-NetConnectionProfile’ to verify that the NetworkCategory is now set to private, as shown below:
If your computer is joined to a Domain, then you will be able to set the NetworkCategory to Domain:
Set-NetConnectionProfile -InterfaceIndex 3 -NetworkCategory DomainAuthenticated

You may also adjust the network type setting via the registry using regedit. (We have found it work and Windows 7 and up)
The type of the network can changed in the registry:
HKLM\Software\Microsoft\WindowsNT\CurrentVersion\NetworkList\Profiles\
You may also adjust the network type via this method (We have found it work and Windows 7 and up)
Launch the Local Security Policy Editor (Start->Run “secpol.msc” ).
Under Security Settings, select “Network List Manager Policies” and then select a network name from the displayed names (I don’t know exactly which name will apply in your case).
Right-click and select Properties and set the “Location type” to Private.
Reboot.